To start, this is what you will see when you go into your workspace and click on a project:
(To see how to change or create workspaces click here
 Header
At the top bar of the page you will see a few icons:

This provides a few different options:
- Notifications come in through the envelope icon. Here you can accept a request to join a workspace or project if someone adds you.
- Need Help is the ? icon. here you can Request a Feature and Submit a Bug Report
Below that there is another information bar:

Here you see a few things:
- Project Identifier and Project Name
- A Tag icon and associated tags to the project. This is where you can add informational tags to a project for easy searching later. See more here
- There is also a project file size. This is all images, satellite data, layers, and documents you have attached. This is good to know when you download a project
Main Tabs
You will see six bars at the top, and five panels within the dashboard.
First, we will look at the Details Tab.
Info: you see a map of the site, project name, location, contacts, project description, and Advanced settings which include:
- add in Contract details with Contracts Details
- See More Details
- You can see the contract information added in project creation or you are able to add it here
-
- any permits you may want to add to the project can be edited here.
Photos: below Info, you see a tab with all photos that have been added to this project. When you drop a pin and attach a photo they will appear here. you can also see where each image is located on a map by right-clicking on an image.
Project Members: To the right of Info, you will see everyone that has been added to the project as a member. There are several ways you can add a new member, check it out!
Site Notes: Below Project Members, you can see all of the notes that you have added to the site. This is a place where everyone on the team can add notes to the project so it is all in one place!
Site Meetings: Below Site Notes, there is an area called Site Meetings. Here, you can store information about all meetings that you have had on-site. Want to learn how? Click here
Now, we will move along to the Maps tab:
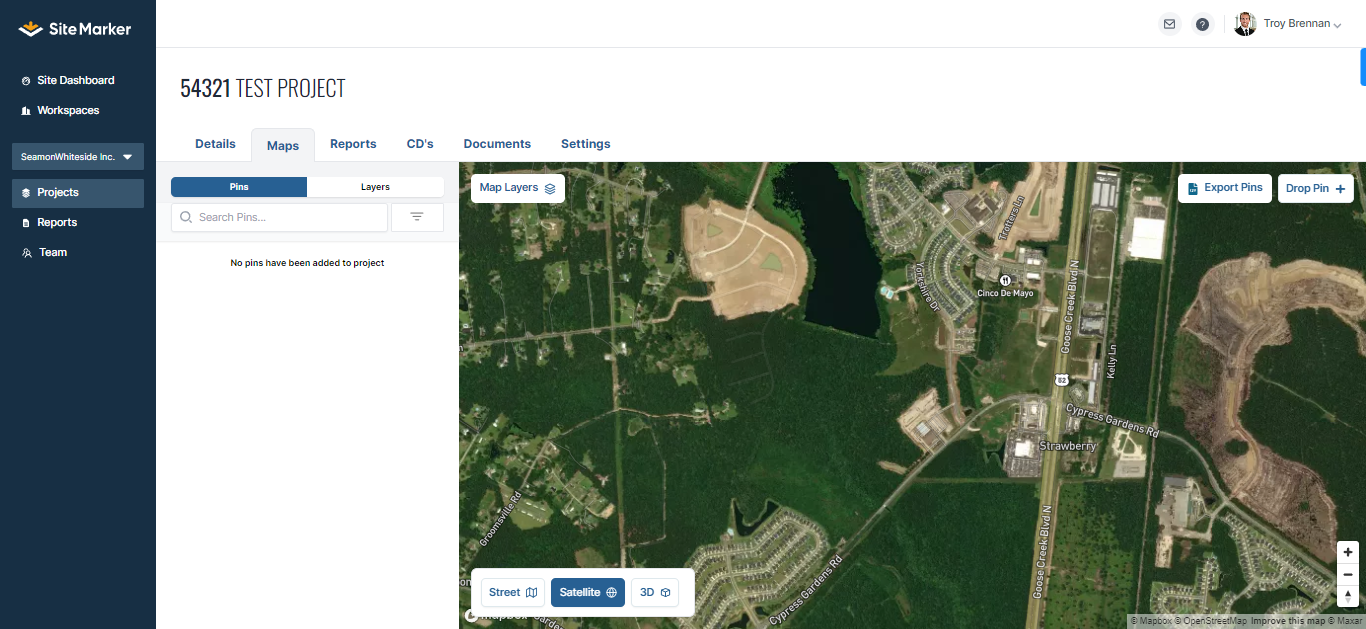
This is where you can see your location, layers, and pins all in one spot on a map. If you want to learn more about what is on the Maps screen, click here.
The next tab is Reports:
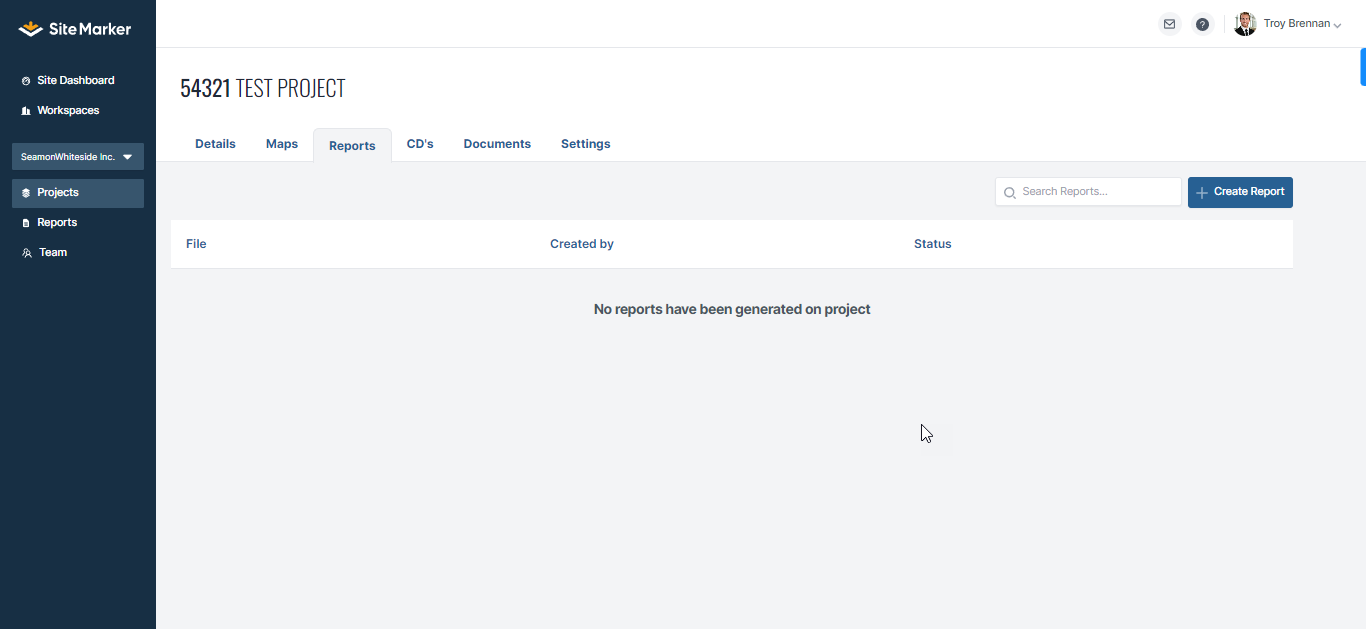
After you have dropped pins onto your map, you can create a report as a way to bring everything you have done on a project into one spot. To see an in-depth review of Reports, click here
CD's is the next item:
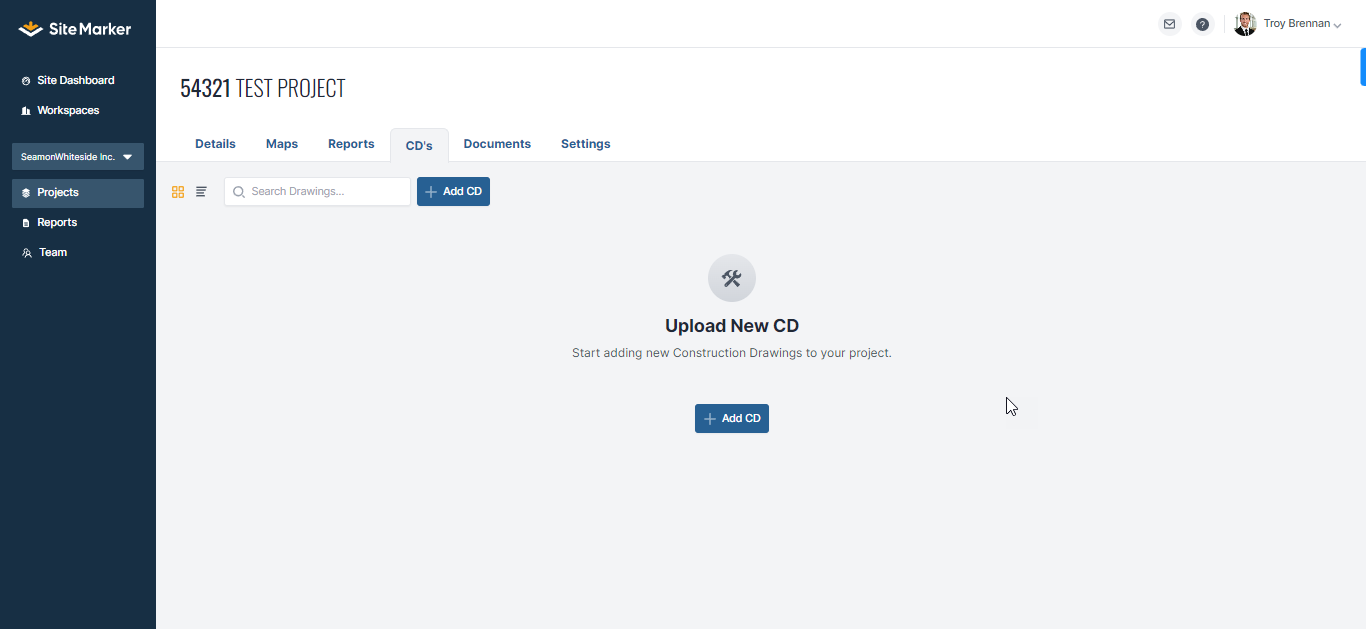
This screen is where you can deal with everything Construction Drawing. Want to know how to add construction drawings? Click here.
Files is Site Markers' take on a file storage system!
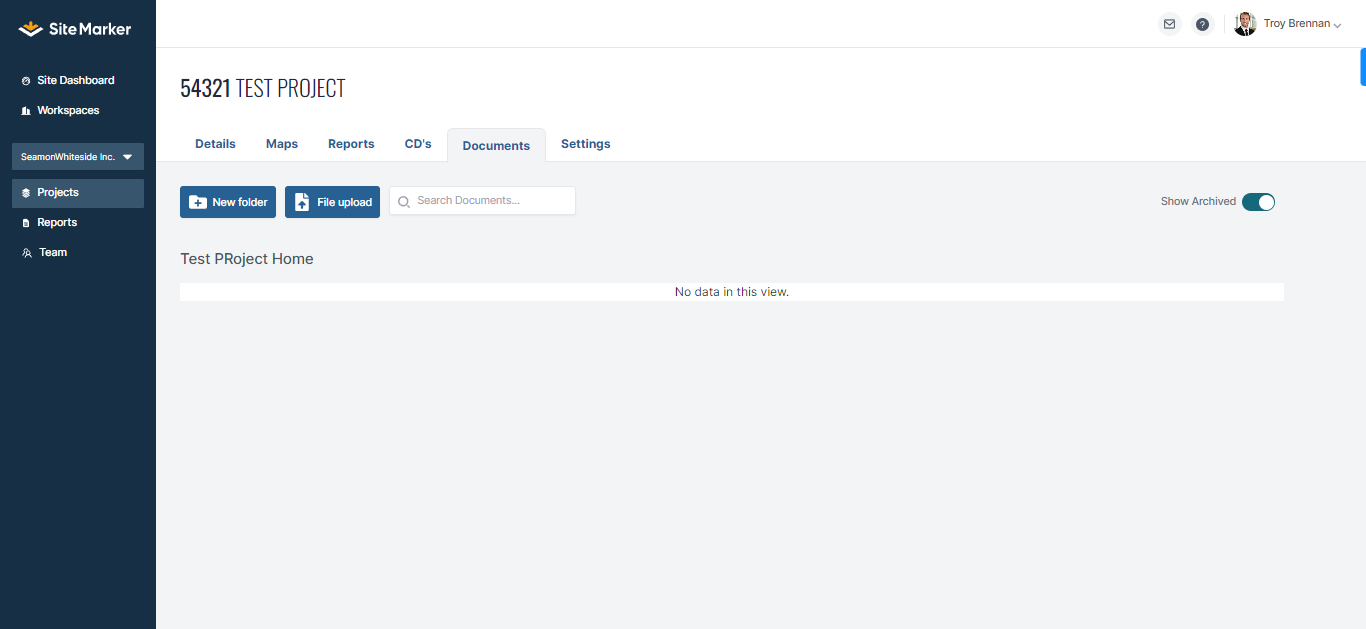
This tab allows you to store all file types in one spot. It acts in a similar way to Windows where you can create a folder and continue adding more levels within as a folder or file option. Want to learn more about how to interact on this screen? Click here
The final tab is Settings:
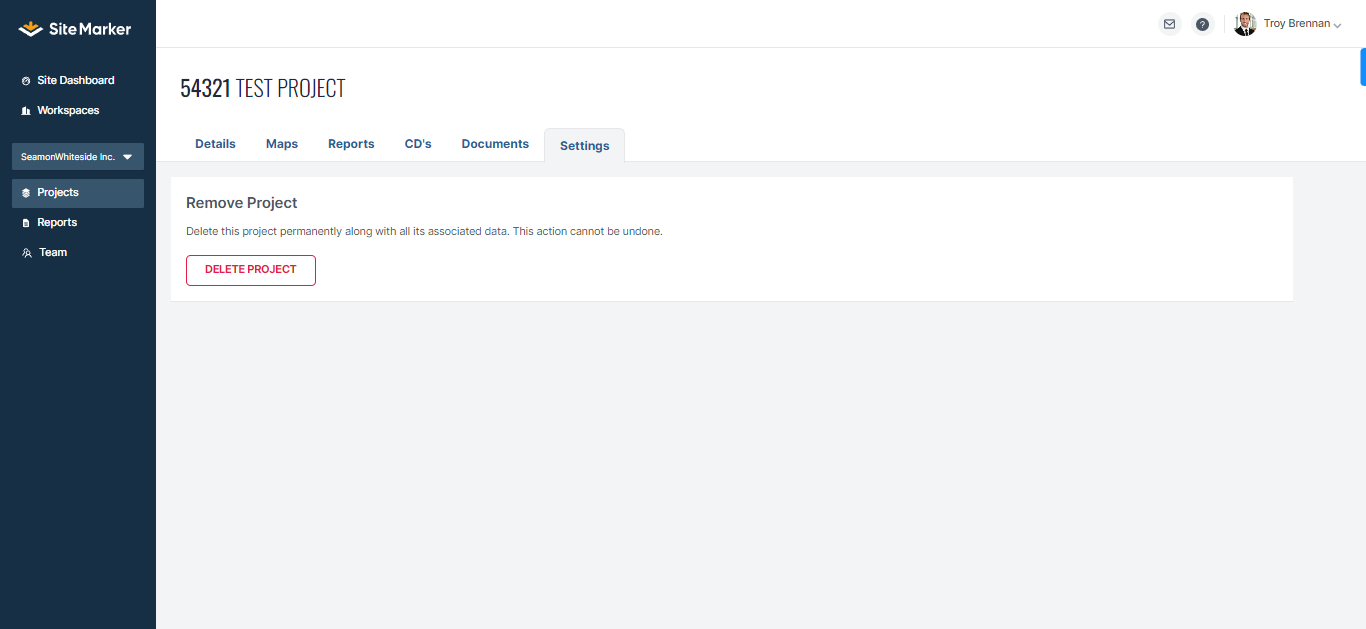
This one is a bit easier, the only option currently is a way to delete a project!